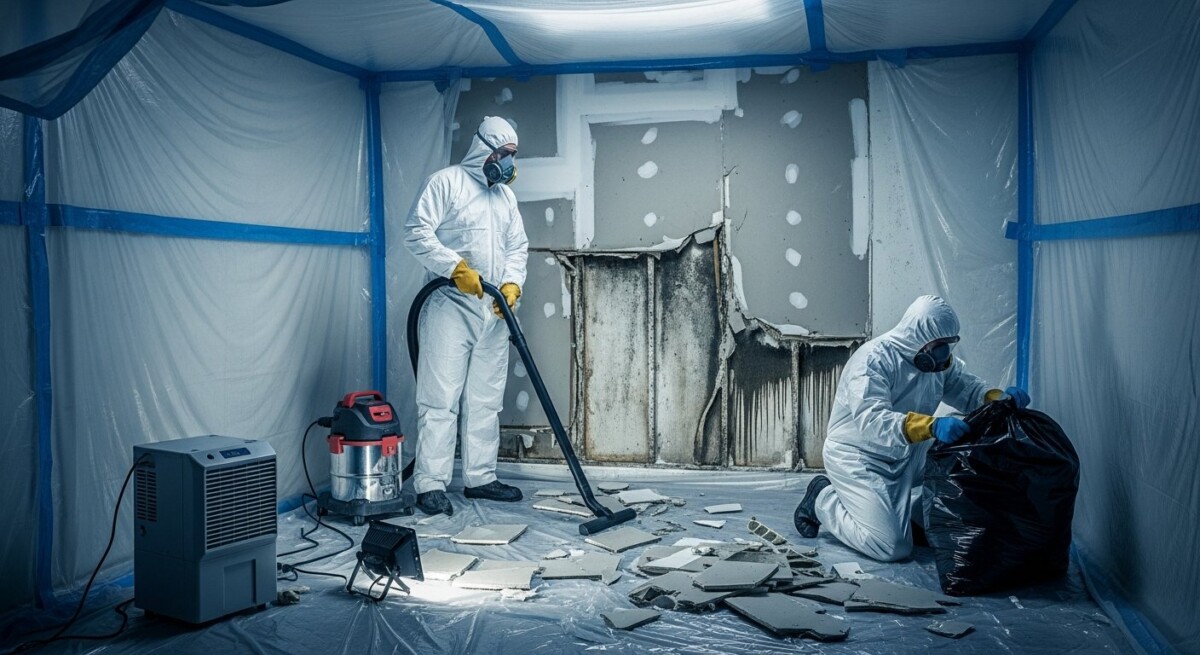
Transform Your Home With Professional Interior Painting
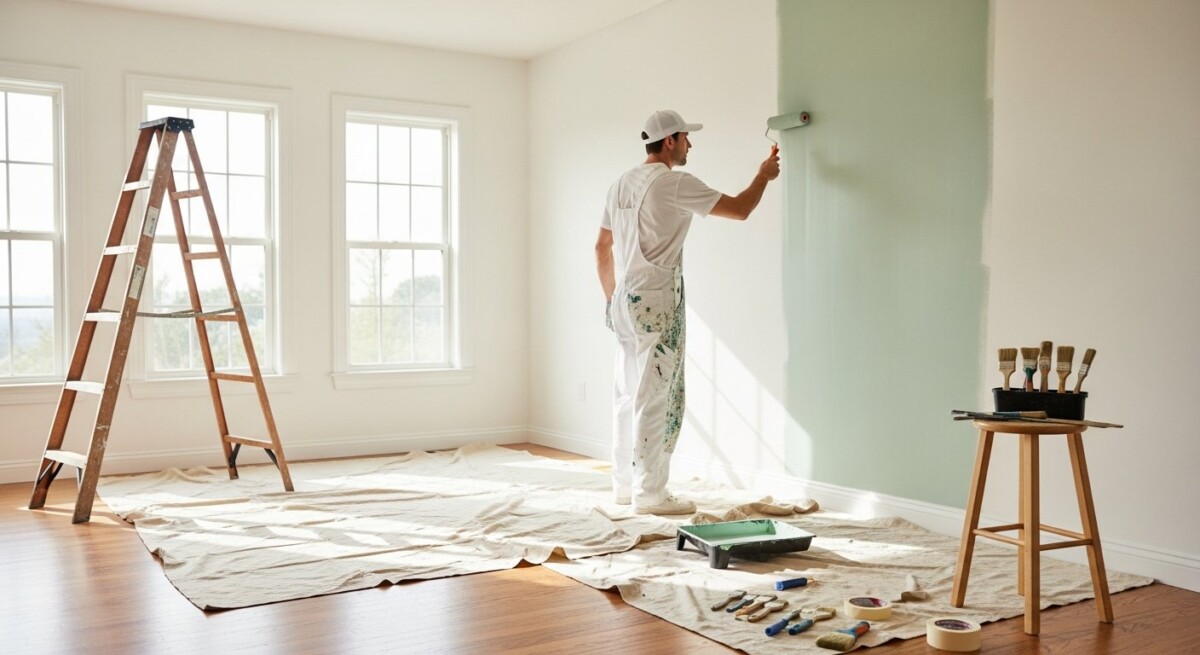
A fresh coat of paint can redefine a room, making it feel brighter, larger, or more inviting. Whether you’re preparing to sell your home or simply craving a change, interior painting offers one of the highest returns on investment for any remodeling project. Yet many homeowners underestimate the complexity involved in achieving a smooth, lasting finish. From surface preparation to color selection, every step matters. This guide covers everything you need to know to plan and execute a successful interior painting project, with expert advice that saves time, money, and frustration.
Why Interior Painting Is More Than Just a Color Change
Interior painting does more than cover walls with a new shade. It protects surfaces from moisture, stains, and everyday wear. It can also improve indoor air quality when low-VOC or zero-VOC paints are used. A well-executed paint job adds perceived value to your home, making it more appealing to potential buyers. In fact, real estate agents consistently rank fresh paint as one of the most cost-effective upgrades a seller can make.
But the benefits extend beyond aesthetics and resale value. Painting allows you to correct imperfections, hide old stains, and even change the perceived proportion of a room. Light colors can make a small space feel larger, while dark accents add depth and coziness. The key is to approach the project with a clear strategy, balancing your design vision with practical considerations like lighting, traffic flow, and durability.
Preparing Your Home for Interior Painting: The Critical First Step
Proper preparation is the foundation of any professional-grade paint job. Skipping or rushing this phase leads to peeling, bubbling, or uneven coverage that requires costly rework. Our article on the benefits of hiring expert interior painting services explains how professionals handle preparation with precision, but even if you plan to DIY, these steps are non-negotiable.
Clearing and Protecting the Space
Start by moving furniture away from walls. Remove wall hangings, curtain rods, and switch plates. Cover floors with drop cloths, and use painter’s tape to mask trim, windows, and door frames. This prevents accidental splatters and ensures clean lines. Dust and debris can ruin a finish, so vacuum the walls and wipe them down with a damp cloth. For kitchens and bathrooms, use a degreasing cleaner to remove grease and soap residue.
Repairing and Sanding Surfaces
Fill nail holes, cracks, and dents with spackling compound. Allow it to dry completely, then sand smooth with fine-grit sandpaper. Sanding also helps new paint adhere to glossy surfaces. For walls with existing gloss or semi-gloss paint, lightly sand the entire surface to create a matte texture that grips the new coat. Wipe away sanding dust with a tack cloth or damp rag.
Priming: An Often Overlooked Essential
Primer seals the surface, provides a uniform base, and improves paint adhesion. It is especially important when covering dark colors with lighter ones, painting over new drywall, or dealing with stains. Many paints claim to be self-priming, but a dedicated primer layer yields better coverage and longevity. Choose a primer that matches your topcoat type (water-based for latex paints, oil-based for alkyd paints).
Choosing the Right Paint and Tools
The market offers a dizzying array of paint finishes, sheens, and brands. Understanding the difference can mean the difference between a mediocre and a magnificent result.
Paint Finishes and Where to Use Them
- Flat or matte: Hides imperfections and absorbs light, ideal for low-traffic areas like bedrooms and ceilings.
- Eggshell: Slight sheen, easy to clean, works well in living rooms and hallways.
- Satin: More durable and washable, suitable for kitchens, bathrooms, and children’s rooms.
- Semi-gloss: Highly durable and moisture-resistant, perfect for trim, doors, and cabinets.
- Gloss: Very shiny and tough, used for high-wear areas like baseboards and window sills.
For most interior walls, eggshell or satin offers a good balance of aesthetics and durability. Trim and doors benefit from semi-gloss or gloss for easy cleaning. When in doubt, consider your family’s lifestyle. Households with kids or pets should prioritize washable finishes.
Tools That Make a Difference
Invest in quality brushes and rollers. A 2.5-inch angled sash brush works well for cutting in along edges and corners. Roller covers with a 3/8-inch nap are suitable for smooth walls; thicker naps (1/2-inch to 3/4-inch) are better for textured surfaces. Extension poles let you reach high areas without a ladder. Painter’s tape should be the delicate-surface type to avoid peeling fresh paint. Cheap tools can leave streaks and bristle marks, so spend a little more for professional-grade supplies.
The Painting Process Step by Step
Once preparation is complete and materials are assembled, follow this sequence for best results.
- Cut in first: Use a brush to paint a 2-3 inch border around the edges of walls, ceilings, and corners. This creates a clean line that you will later blend with the roller.
- Roll the walls: Load the roller evenly and apply paint in a W or M pattern, then fill in with parallel strokes. Work in sections, keeping a wet edge to avoid lap marks.
- Apply a second coat: After the first coat dries (check the paint can for recommended dry time), repeat the cut-in and rolling process. Two coats almost always produce a richer, more uniform finish.
- Paint trim and doors: Use a small brush or foam roller for woodwork. Apply thin, even coats to prevent drips. Two or three thin coats are better than one thick coat.
- Remove tape promptly: Pull painter’s tape while the paint is still slightly wet (but not wet enough to run). This prevents the tape from tearing the dried paint film.
If you are tackling a large area or multiple rooms, consider hiring a professional. Licensed contractors have commercial-grade equipment and experience that ensures consistent results, often in half the time. Our painting FAQ section addresses common questions about timelines, costs, and contractor selection.
Color Selection Strategies
Choosing a color can feel overwhelming. Look at existing fixtures, flooring, and furniture to guide your palette. Use color swatches and sample pots to test colors on your wall before committing. Lighting changes throughout the day, so observe samples in morning, afternoon, and evening light. Many paint stores offer peel-and-stick samples for easier comparison.
A popular strategy is to use a neutral base for large surfaces (walls) and bolder accents for feature walls or decor. Neutrals like warm grays, soft beiges, and greige are timeless and flexible. If you love color, consider a single accent wall in a deep blue, green, or even terracotta. This adds personality without overwhelming the room.
Cost of Interior Painting: Budgeting and Saving
The cost of interior painting varies widely based on room size, ceiling height, number of coats, paint quality, and labor. On average, homeowners spend between $2 and $6 per square foot for professional painting. A single room might cost $300 to $800, while a whole house can range from $2,000 to $6,000 or more.
To save money, you can do the preparation yourself (moving furniture, cleaning, taping) and hire a painter only for the actual painting. Buying paint in bulk during sales also reduces costs. However, remember that cheap paint often requires more coats, so mid-range paint is usually the best value. Contact us for free quotes from vetted contractors who can provide accurate estimates based on your specific project.
Common Mistakes to Avoid
Even experienced painters can slip up. Here are the most frequent errors and how to prevent them.
- Overloading the brush or roller: Too much paint leads to drips and uneven coverage. Dip only a third of the bristle length and roll off excess on the tray’s grid.
- Skipping primer on new drywall: Unprimed drywall absorbs paint unevenly, causing blotchy patches. Always prime fresh surfaces.
- Painting in direct sunlight: Sun can cause paint to dry too quickly, leaving roller marks. Work on shaded sections or close curtains.
- Rushing between coats: Applying a second coat before the first is fully dry can lift and peel the paint. Follow the manufacturer’s dry time recommendations.
- Using low-quality painter’s tape: Cheap tape may leak or leave adhesive residue. Invest in tape designed for delicate surfaces.
By avoiding these pitfalls, your paint job will last for years without chipping or fading.
When to Call a Professional
While many homeowners successfully paint rooms themselves, certain situations call for expert help. High ceilings, intricate trim, stairwells, and vaulted spaces are dangerous and difficult to paint without professional ladders and safety gear. If you have allergies or sensitivity to paint fumes, professional crews can use low-VOC products and ventilate the space correctly. Additionally, if your home has lead-based paint (common in houses built before 1978), certified abatement specialists must handle removal or encapsulation.
Professional painters also bring efficiency. What might take you a whole weekend, a pro team can finish in a day or two. They have the tools, experience, and insurance to handle unexpected issues like water damage, mold, or uneven surfaces. Exploring the benefits of expert interior painting services can help you decide if hiring a contractor is the right move for your project.
Ultimately, interior painting is a rewarding project that transforms your living space. Whether you choose to DIY or hire a pro, careful planning and quality materials ensure a result you will enjoy for years. Start by assessing your needs, setting a budget, and gathering quotes. A fresh interior awaits.