HVAC Installation: Key Steps for a Smooth Upgrade
When your heating or cooling system fails on the hottest or coldest day of the year, the urgency to replace it can lead to rushed decisions. A careful HVAC installation is more than just swapping out old equipment; it is the foundation for long-term comfort, energy savings, and indoor air quality. Many homeowners underestimate the complexity of modern systems, from load calculations to ductwork sizing. Making informed choices now can save thousands in operating costs and prevent premature breakdowns. This guide walks you through the critical stages of an HVAC upgrade, helping you avoid common pitfalls and secure a system that performs reliably for years.
Signs You Need a New HVAC System
Not every issue calls for a full replacement, but certain warning signs indicate that repair costs are no longer worth it. Frequent breakdowns, rising energy bills, and uneven temperatures across rooms often point to an aging or undersized unit. Most HVAC systems last 15 to 20 years with proper maintenance. If yours is approaching this age and requires repeated fixes, a new installation is likely the more economical choice.
Other red flags include strange noises like banging or squealing, persistent dust or humidity problems, and the use of R-22 refrigerant, which is being phased out. Upgrading to a modern, high-efficiency model can reduce your monthly utility bills by 20 to 40 percent. Beyond comfort, a new system also adds resale value to your home. For a detailed breakdown of what to expect during the process, refer to our complete guide to HVAC installation.
Understanding the HVAC Installation Process
Proper installation involves several technical steps that go far beyond simply mounting a new unit. The process begins with a professional load calculation to determine the correct size for your home. Oversized systems short cycle and waste energy; undersized units run constantly and struggle to maintain temperature. A Manual J calculation accounts for square footage, insulation, window orientation, and local climate.
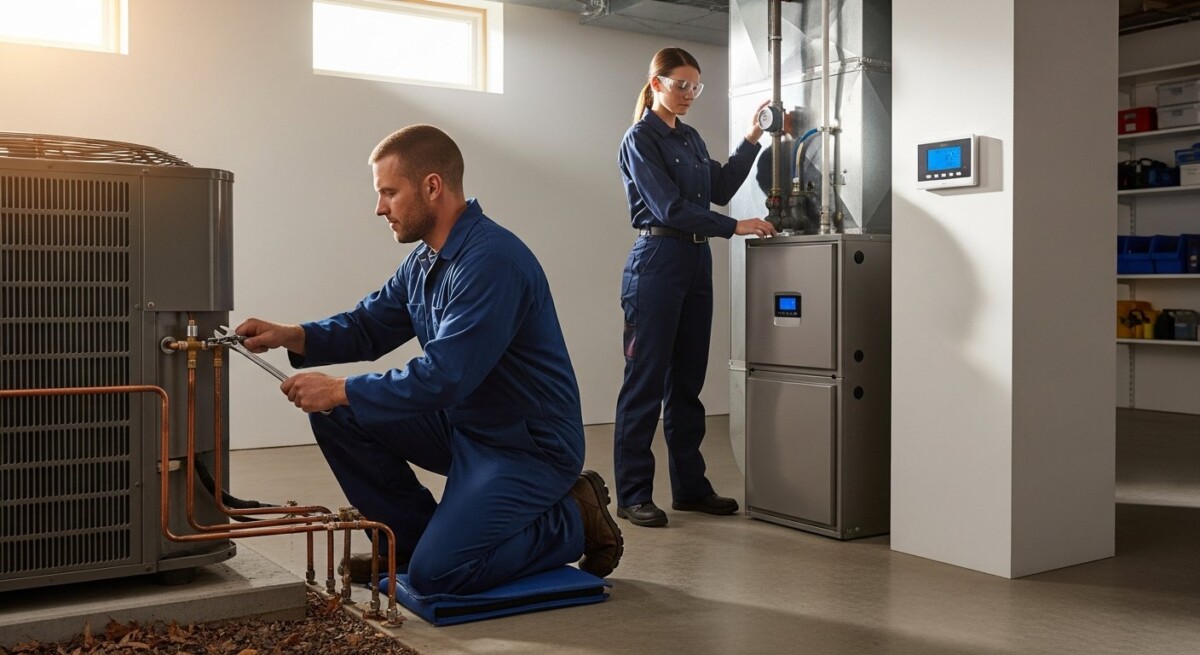
Once the right equipment is selected, the installation team removes the old system, inspects ductwork for leaks or blockages, and cleans refrigerant lines. New electrical connections, thermostat wiring, and drainage lines are installed. After the equipment is placed and secured, the technician evacuates the refrigerant lines, charges the system with the precise amount of coolant, and runs performance tests. This sequence ensures the system operates at peak efficiency from day one.
Here is a quick overview of the major milestones during a typical residential installation:
- Site inspection and measurement
- Old equipment removal and disposal
- Ductwork sealing and modification (if needed)
- New unit placement and electrical hookup
- Refrigerant charge and system commissioning
Each stage requires specialized tools and training. Attempting a DIY installation or hiring unlicensed contractors can lead to voided warranties, safety hazards, and poor performance. It is always safer to work with experienced professionals who follow local building codes and manufacturer specifications.
Choosing the Right HVAC Contractor
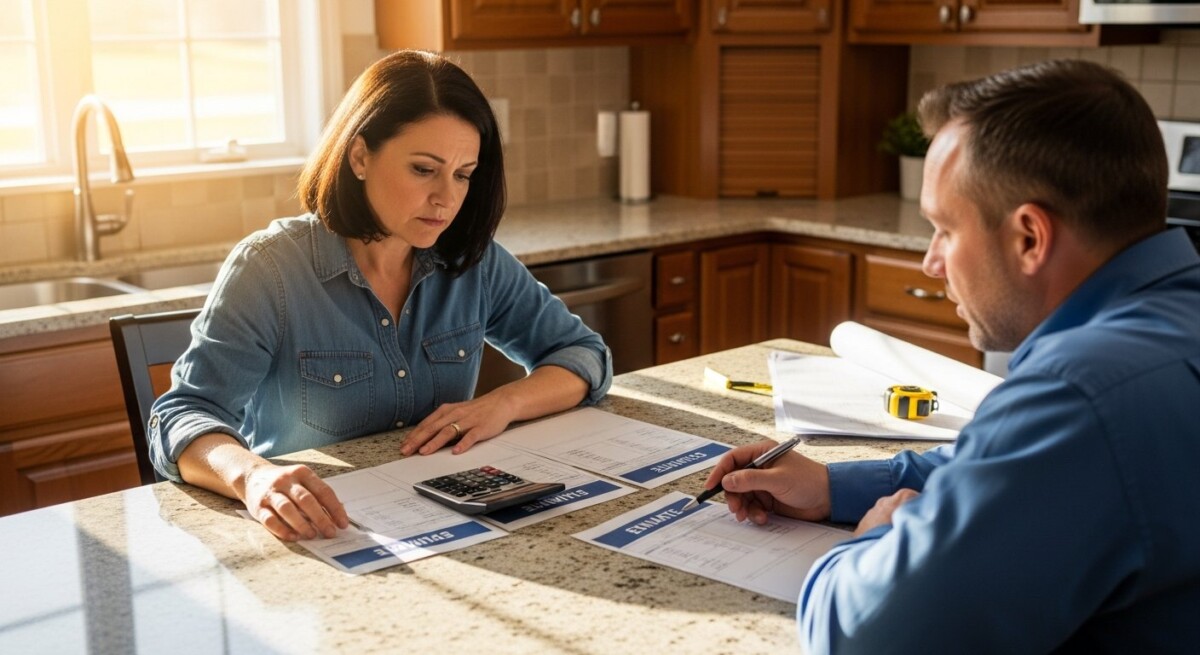
The quality of your installation depends heavily on the contractor you select. A reliable professional not only installs the equipment correctly but also provides ongoing support and service. Start by asking for multiple quotes to compare pricing, equipment brands, and proposed timelines. Beware of bids that are significantly lower than others; they often indicate shortcuts or substandard materials.
When evaluating contractors, verify the following credentials and practices:
- Valid state license and insurance coverage
- NATE certification (North American Technician Excellence)
- Clear written estimate with model numbers and warranty terms
- References from recent customers in your area
- Willingness to perform a Manual J load calculation
Taking the time to vet your contractor can prevent costly mistakes. Many homeowners use platforms like USremodel to compare pre-screened professionals in their area. You can read our professional HVAC installation services page to learn more about finding qualified technicians near you. A good contractor will also help you navigate rebates and tax credits for high-efficiency systems, further reducing your upfront investment.
Cost Factors and Financing Options
HVAC installation costs vary widely based on equipment type, system size, ductwork condition, and labor rates in your region. A standard central air conditioner and furnace replacement typically ranges from $5,000 to $12,000. Heat pumps, ductless mini-splits, and systems with advanced zoning or air purification can cost more. However, the long-term energy savings often offset the higher initial price.
Other factors that influence the final bill include:
- SEER rating (Seasonal Energy Efficiency Ratio)
- AFUE rating (Annual Fuel Utilization Efficiency for furnaces)
- Number of zones and thermostat upgrades
- Ductwork repairs or replacement
- Permit fees and disposal charges
Many homeowners finance their HVAC installation through personal loans, home equity lines, or promotional offers from manufacturers. Additionally, federal and state energy tax credits can cover up to 30 percent of qualifying equipment costs. To get an accurate estimate for your project, request free quotes from multiple contractors. Our detailed HVAC installation overview includes tips on comparing bids and understanding line-item costs.
Preparing Your Home for Installation Day
Proper preparation ensures the installation team can work efficiently and reduces disruption to your daily routine. Clear the area around your indoor unit and outdoor condenser, removing furniture, plants, or debris. If your installation involves new ductwork or electrical work, expect some dust and noise. Cover nearby items with drop cloths or plastic sheeting.
Plan for a temporary loss of heating or cooling during the installation, which usually takes one to three days. Keep pets and children away from the work zone for safety. Discuss access to your home with the contractor ahead of time, especially if you have a basement, crawlspace, or attic where equipment will be placed. Having a clear path and a designated parking spot for the service truck can streamline the process.
It is also wise to ask about warranties and what to do if you notice issues after installation. Most reputable contractors offer a one-year labor warranty in addition to the manufacturer’s parts warranty. Keep all documentation, including the owner’s manual and service records, in an accessible location.
Post-Installation Tips for Longevity
Once your new HVAC system is running, simple maintenance habits can extend its life and maintain efficiency. Change air filters every one to three months, especially during peak seasons. Dirty filters restrict airflow, causing the system to work harder and increasing energy use. Schedule professional tune-ups twice a year once in spring for cooling and once in fall for heating.
Other practices that protect your investment include:
- Keep outdoor units clear of leaves, grass, and snow
- Seal ductwork leaks to prevent conditioned air loss
- Install a programmable or smart thermostat for optimal scheduling
- Monitor refrigerant levels and address leaks immediately
- Listen for unusual noises and call for service promptly
Following these steps can help your HVAC system operate at peak performance for 15 years or more. Regular maintenance also keeps the manufacturer’s warranty valid and improves indoor air quality for your family.
Making the right decisions during an HVAC installation sets the stage for years of reliable comfort and lower utility bills. Whether you are building a new home or replacing an old system, taking a methodical approach from load calculation to contractor selection pays off. If you are ready to move forward, USremodel can connect you with trusted professionals in your area who provide free, no-obligation quotes. Compare options, read customer reviews, and choose the contractor that best fits your needs and budget.