
Winter Roof Inspection Checklist: 10 Vital Steps
Use this roof inspection checklist before winter to spot leaks, avoid costly repairs, and keep your home warm and dry all season.
By Jessica Reis
Learn more about Roof Inspection for guides, costs, and what to expect.
Compare Roof Inspection Pros Near You

Enter your ZIP code to compare top-rated local professionals and request free quotes.
As the days shorten and temperatures drop, your home's first line of defense against harsh weather is the roof overhead. A single overlooked shingle or clogged gutter can turn a minor issue into a costly emergency when snow and ice arrive. That is why a thorough roof inspection checklist before winter is not just a good idea; it is an essential part of responsible homeownership. By dedicating a few hours to proactive maintenance, you can protect your family, avoid surprise repair bills, and extend the lifespan of your roofing system.
This guide provides a practical, step-by-step approach to evaluating your roof's condition, identifying potential problems, and knowing when to call in a professional. Whether you are a seasoned homeowner or managing your first property, this checklist will help you prepare for the coldest months with confidence. We will cover everything from interior signs of leaks to exterior structural integrity, ensuring you do not miss a single critical point.
Why a Pre-Winter Roof Inspection Matters
Winter weather can be brutal on roofing materials. Freezing temperatures make shingles brittle, ice dams can form and force water under the surface, and heavy snow loads can stress the entire structure. A proactive roof inspection allows you to catch small issues while they are still easy and inexpensive to fix. Waiting until after a storm often means dealing with active leaks, water damage to your ceilings and walls, and potentially mold growth. The cost of prevention is almost always far lower than the cost of major repairs.
Moreover, a well-maintained roof contributes to your home's overall energy efficiency. Gaps, cracks, or missing insulation around the roof deck allow warm air to escape, driving up your heating bills. By sealing these vulnerabilities before winter, you not only protect your home but also reduce your monthly energy costs. In our guide on roof inspections in East Los Angeles, we explain how proactive checks can save you from costly repairs in specific climates, but the principles apply universally.
Your Step-by-Step Roof Inspection Checklist Before Winter
To make the process manageable, break the inspection into two main areas: the interior and the exterior. Start indoors to spot signs of existing leaks or structural issues, then move outside to examine the roof surface and components. Remember, safety is paramount. If you are uncomfortable walking on your roof, are dealing with a steep pitch, or notice any significant damage, hire a licensed roofing contractor. Never risk your personal safety for a visual check; a professional can perform a more thorough evaluation.
Interior Inspection: Look for Leaks and Weak Points
Begin in your attic or the highest floor of your home. Use a flashlight to examine the underside of the roof deck and the rafters. Look for any signs of water intrusion, such as dark stains, streaks, or active drips. Also, check for daylight coming through the roof boards, which indicates gaps or holes. Pay special attention to areas around chimneys, vents, and skylights, as these are common leak points. If you see any mold, mildew, or a musty smell, that is a red flag of trapped moisture.
Inspect your insulation for dampness or compression. Wet insulation loses its R-value and can lead to ice dam formation later. Also, check the attic ventilation. Proper airflow keeps the roof deck cool and dry, preventing condensation and premature aging of shingles. Make sure vents are not blocked by insulation or debris. Finally, examine the interior walls and ceilings on the top floor for any new stains or bubbling paint, which could indicate a slow leak from above.
Exterior Inspection: Assess the Roof Surface
From the ground or with a sturdy ladder (if safe), inspect the overall condition of your shingles or roofing material. Look for any that are cracked, curled, blistered, or completely missing. These are signs of aging or storm damage. If you see granules from asphalt shingles in your gutters, that is a strong indicator that the shingles are near the end of their lifespan. Check the flashing around chimneys, skylights, and roof valleys. It should be intact and sealed properly. Any rust, gaps, or lifted sections need immediate attention.
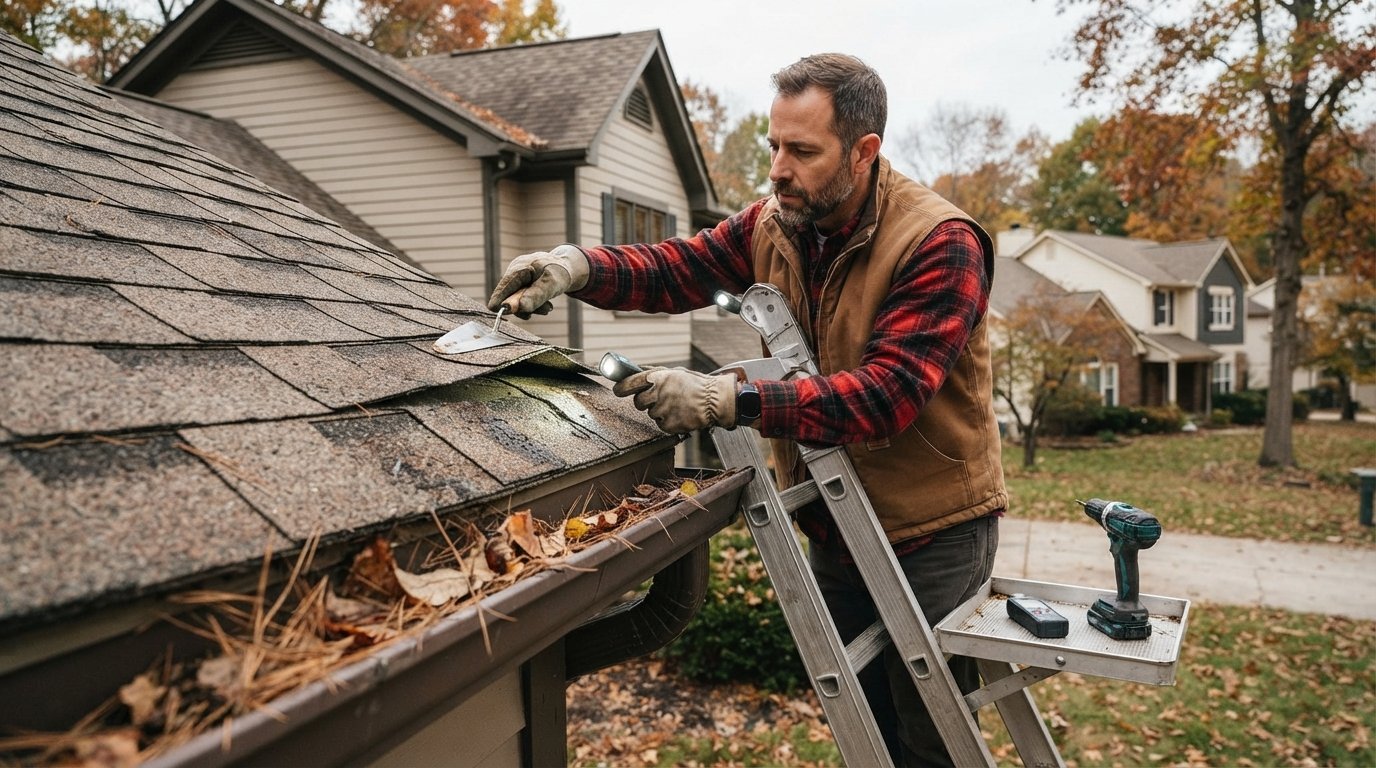
Examine the gutters and downspouts. Clean out leaves, twigs, and other debris that can cause water to back up and freeze. Ensure downspouts extend at least a few feet away from your foundation to prevent water from seeping into your basement or crawlspace. Also, check the fascia and soffit boards for rot or water damage. These components protect the roof's edge and support the gutters, so their integrity is crucial. If you notice any sagging or peeling paint, plan for repairs.
Key Areas to Focus On During Your Inspection
While a general overview is helpful, certain parts of your roof are more vulnerable than others. Here is a checklist of critical spots you should examine closely during your pre-winter walkthrough.
- Roof Valleys: These are the V-shaped channels where two roof slopes meet. They are prone to debris accumulation and water flow. Check for any gaps in the metal flashing or damaged shingles.
- Chimney Flashing: The metal base where the chimney meets the roof is a common leak source. Look for cracked or separated caulking, rust, or loose flashing pieces.
- Skylights: Inspect the seals and the frame around each skylight. Any cracked or dried-out sealant should be replaced before winter.
- Pipe Boots and Vents: These rubber or plastic covers around plumbing vents and exhaust pipes can dry out and crack over time, allowing water to enter.
- Gutter Seams: Check the joints between gutter sections for leaks. A small drip can freeze and expand, causing a larger split.
After reviewing these areas, take note of any tree branches that overhang your roof. They can scrape against shingles in high winds and drop leaves that trap moisture. Trim back any limbs that are within a few feet of your roofline. This simple step reduces the risk of physical damage and keeps your roof cleaner.
When to Call a Professional Roofer
While many homeowners can perform a basic inspection, there are situations where professional expertise is essential. If you discover any of the following, it is time to schedule a professional roof inspection:
- Multiple missing or damaged shingles across a large area.
- Signs of active leaks or water stains inside your home.
- Sagging or dipping sections of the roof deck.
- Significant moss or algae growth, which can indicate trapped moisture.
- If your roof is over 20 years old, even if it looks fine from the ground. An expert can assess its true condition and remaining lifespan.
A professional roofer has the training to spot subtle issues that an untrained eye might miss. They can also safely navigate steep slopes and identify potential structural weaknesses. They will provide a detailed report of necessary repairs and can help you prioritize based on urgency and budget. Remember, the goal is to address problems before they become emergencies. Companies like 180Remodel can also connect you with vetted contractors for a comprehensive assessment, ensuring you get reliable expertise without the guesswork.
DIY Repairs You Can Tackle Now
Not every issue requires a professional. With the right tools and a bit of caution, you can handle some minor maintenance tasks yourself. For instance, you can replace a single damaged shingle, reapply sealant around pipe boots, or clean your gutters thoroughly. Always use a sturdy ladder and have someone hold it for you. If you are comfortable on the roof, you can also inspect and clean the flashing around chimneys. However, if you have any doubt about your ability to do a repair safely or correctly, it is better to hire a professional. A botched DIY fix can lead to more extensive and expensive damage later.
When performing any small repair, use materials that match your existing roofing. For example, if you have asphalt shingles, use the same type and color. Apply roofing cement carefully to seal edges. After completing any work, take a final walk around your property to ensure everything is in order. This proactive approach gives you peace of mind, knowing you have done everything possible to protect your home.
Beyond the Checklist: Winter Roof Care Tips
Once your inspection is complete and any necessary repairs are made, there are a few additional steps you can take to ensure your roof performs well all winter long. First, consider installing a snow guard or ice and water shield in vulnerable areas, such as valleys or above eaves. These products help prevent ice dams and the damage they cause. Second, after a heavy snowfall, use a roof rake to remove excess snow, especially if your roof has a low pitch. This reduces the weight load and minimizes the risk of ice dams.
Finally, keep a record of your inspections, repairs, and the age of your roof. This documentation is valuable for insurance claims and when selling your home. It also helps you track the maintenance history and anticipate when a full replacement may be needed. By staying organized and proactive, you can extend the life of your roof and avoid unexpected surprises.
Preparing your roof for winter is one of the most important maintenance tasks you can do as a homeowner. It saves you money, protects your family, and preserves the value of your property. Use this roof inspection checklist before winter as your guide, and do not hesitate to seek professional help when needed. With a little effort now, you can enjoy a warm, dry, and worry-free winter season.
Learn more about Roof Inspection for guides, costs, and what to expect.
Compare Roof Inspection Pros Near You
Enter your ZIP code to compare top-rated local professionals and request free quotes.