
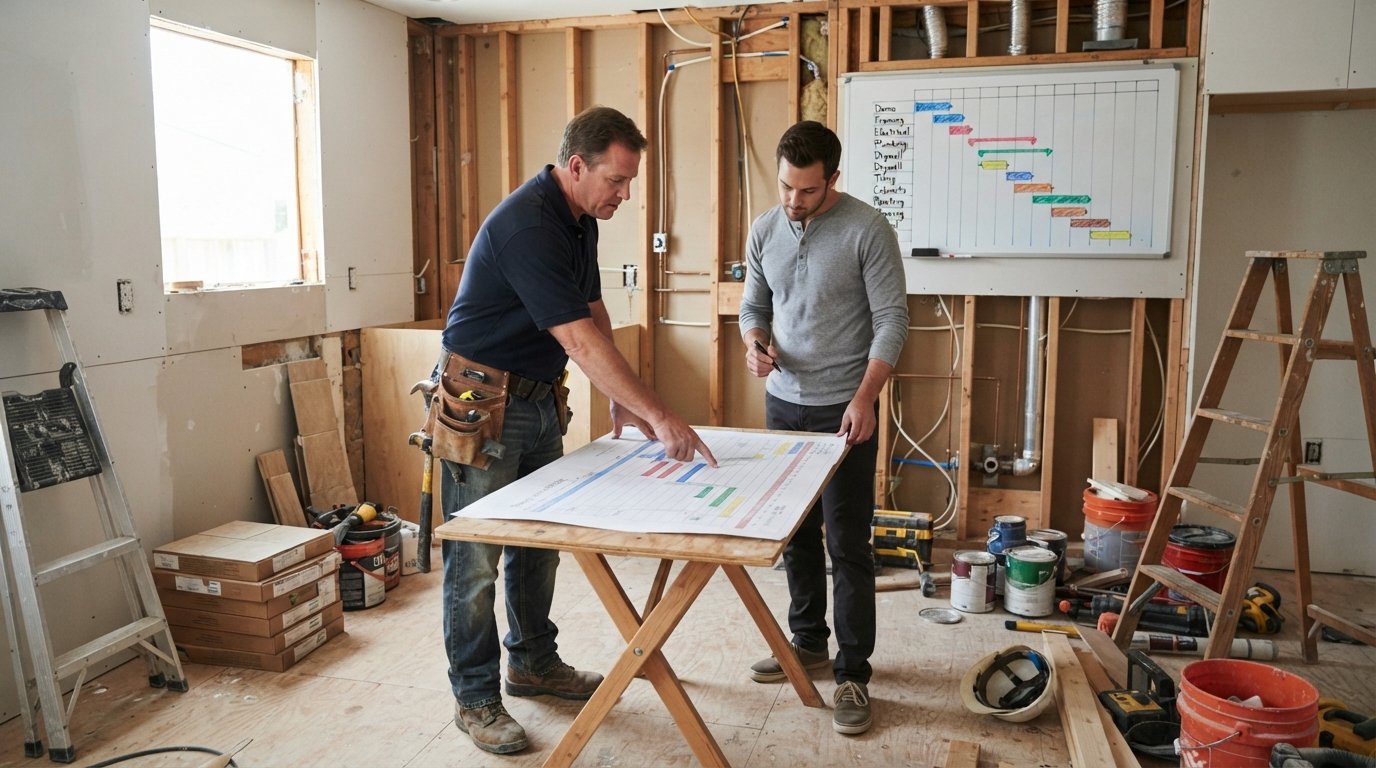
Remodeling Project Management Timeline With Contractors
A realistic remodeling project management timeline with contractors keeps trades sequenced, prevents costly rework, and helps you finish on schedule.
By Peter Hubert
Learn more about General Contracting for guides, costs, and what to expect.
Compare General Contracting Pros Near You

Enter your ZIP code to compare top-rated local professionals and request free quotes.
Your kitchen is torn down to the studs, your only bathroom has no toilet, and your contractor just texted that the tile guy cannot start until next week. If that scenario makes your pulse spike, you are not alone. Remodeling chaos almost always traces back to one missing ingredient: a realistic, written project management timeline that both you and your contractors agree on before demolition day. Homeowners who plan the schedule as carefully as they plan the budget report far fewer delays, far fewer surprise change orders, and far less marital stress. This guide walks you through building a remodeling project management timeline with contractors that actually holds up when materials run late, inspectors get busy, and life happens.
Why a Shared Timeline Beats a Verbal Handshake
A remodeling project is not a single job. It is a relay race with a dozen runners: the designer, the general contractor, the electrician, the plumber, the drywall crew, the painter, the flooring installer, and the inspector who signs off between each leg. When any runner drops the baton, everyone behind them stands around billing you for idle time or, worse, moves to another job site and leaves you waiting weeks for a return visit. A written timeline is the baton. It tells every trade exactly when they are expected, what must be finished before they arrive, and what happens if the sequence slips.
Contractors respect homeowners who come prepared. When you hand a builder a schedule that shows you understand sequencing, allowances, and inspection windows, you signal that you are a serious client who will not micromanage but will hold the team accountable. That single document often determines whether your project finishes in eight weeks or drags into a fifth month.
The Core Phases Every Remodeling Timeline Must Include
Regardless of whether you are refreshing a bathroom or gutting a whole floor, the same skeleton supports the schedule. Think of these phases as chapters, each with a clear beginning, a clear deliverable, and a clear handoff to the next trade. Skipping or compressing any chapter is the fastest way to create rework, which is the most expensive kind of delay because you pay twice for the same wall.
Here is the phase structure that professional project managers use on residential jobs. Adapt the durations to your scope, but keep the order intact:
- Pre-construction and design (2 to 6 weeks): Finalize drawings, select finishes, pull permits, and sign the contract with a detailed scope of work.
- Demolition and structural work (1 to 3 weeks): Tear out old surfaces, remove walls, and complete framing or beam changes.
- Rough-ins (2 to 4 weeks): Run electrical, plumbing, and HVAC lines while walls are open for inspection.
- Insulation, drywall, and finishes (3 to 6 weeks): Close the walls, then install tile, cabinets, countertops, paint, and flooring in strict sequence.
- Final inspection and punch list (1 to 2 weeks): Pass the code inspection, walk the job, and resolve every remaining defect before final payment.
Notice that the finish phase is the longest. That surprises most homeowners, who assume demolition is the hard part. In reality, finishes are where trades stack on top of each other, where backordered materials bite hardest, and where the quality of your timeline shows. If your schedule gives painting only two days but the painter needs four, the flooring installer will arrive to wet walls and the whole chain collapses.
How to Build the Timeline Before You Hire Anyone
Start your schedule in reverse. Pick the date you want the project finished, then work backward through each phase, adding buffer weeks for permits and material lead times. A bathroom that takes six weeks of actual labor often needs ten weeks on the calendar once you account for the two-week permit wait and the three-week cabinet lead time. Contractors build their crews around calendar dates, not labor hours, so your timeline must live on a real calendar.
Next, list every material with a lead time longer than one week. Cabinets, windows, specialty tile, and custom vanities routinely run four to twelve weeks. Order these items the day you sign the contract, not the day the walls come down. A single late window can stall insulation, drywall, trim, and paint in one stroke. When you map those dependencies, you will see exactly where to add float.
Then assign responsibility. Every line on the schedule should name who owns it: you, the general contractor, or a specific trade. Ambiguous ownership is where timelines go to die. If the schedule says "tile installed by week six" but nobody ordered the tile, week six becomes week nine. For a deeper look at keeping material costs from wrecking your schedule, see our guide on how to budget for material cost, because a budget overrun and a timeline overrun almost always travel together.
Coordinating Contractors Without Becoming the Bad Guy
The homeowner's job is not to manage trades. It is to manage the agreement. Your general contractor owns the daily sequencing, but you own the communication rhythm. Set a standing weekly check-in, even if it is a fifteen-minute phone call, and ask three questions: what finished last week, what is scheduled this week, and what is at risk. That third question surfaces problems while they are still cheap to fix.
Put every schedule change in writing, even minor ones. A text message saying "tile pushed to Thursday" is fine for speed, but follow it with an email summary so the record is clear. When multiple trades depend on each other, verbal updates evaporate. Written updates become the project's memory, and that memory protects you if a dispute arises over who caused a delay.
Also decide early how you will handle the inevitable hiccup. A hidden water leak, a failed inspection, or a sick crew member will knock your schedule sideways at least once. Build two float weeks into any project longer than a month, and place them immediately before the finish phase, where they can absorb the most common delays without pushing your final date.
A Practical Week-by-Week Framework You Can Copy
Below is a sample framework for a mid-sized kitchen remodel, roughly eight to ten weeks of work. Treat it as a template, not a promise. Your contractor should adjust durations after seeing your specific site conditions.
- Weeks 1 to 2: Finalize design, sign contract, submit permit application, order long-lead materials.
- Weeks 3 to 4: Permit approved, demolition complete, framing and structural repairs finished.
- Weeks 5 to 6: Electrical, plumbing, and HVAC rough-ins installed and inspected.
- Weeks 7 to 8: Insulation and drywall hung, taped, and primed.
- Weeks 9 to 10: Cabinets, countertops, tile, paint, and flooring installed, followed by final inspection and punch list.
If your project includes a bathroom or an addition running at the same time, do not simply merge the two schedules. Stagger the rough-in inspections so your plumber and electrician are not needed in two places on the same morning. Sequencing across multiple rooms is where an experienced general contractor earns their fee, and it is also where homeowners who self-manage most often stumble.
One more scheduling rule that saves real money: never let a trade start before the previous trade's inspection passes. Drywall hung over unapproved electrical work must come down, and that demolition is billed to you. The inspection calendar, not the labor calendar, is the true spine of your timeline.
Tools, Documents, and Red Flags to Watch
You do not need expensive software to run a remodeling schedule. A shared spreadsheet with columns for task, owner, start date, end date, and dependency works for most residential jobs. What matters is that everyone sees the same version. If your contractor prefers a whiteboard in the garage, fine, but transfer it to a digital copy weekly so nothing is lost.
Keep three documents alongside the timeline: the signed scope of work, the payment schedule tied to milestones, and the change order log. When a homeowner asks to move an outlet or upgrade a faucet mid-project, that request goes into the change order log with its schedule impact noted. This single habit prevents the classic trap where small favors quietly push your completion date by three weeks.
Watch for these red flags, each of which predicts a timeline failure:
- A contractor who will not put dates in writing or who promises a full kitchen in three weeks.
- A payment schedule that asks for large sums before rough-in inspection passes.
- No allowance for permit review time in the schedule.
- Trades scheduled on the same day for work that must happen in sequence.
Any one of these signals means you should slow down and ask harder questions before signing. A contractor who resists a written timeline is telling you how the project will go.
Where to Find Contractors Who Respect Your Schedule
The best timeline in the world fails if the crew does not show up. That is why the contractor selection step matters as much as the planning step. You want licensed, insured professionals who have completed similar projects in your area and who can speak fluently about sequencing, inspections, and lead times. Asking for two recent references and calling them is still the most reliable filter available to homeowners.
If you would rather compare multiple vetted professionals side by side instead of chasing referrals one at a time, a platform like 180Remodel can connect you with local remodeling contractors and help you gather competing quotes, which makes it far easier to spot the bid that includes realistic scheduling and the one that is simply guessing. Whichever route you choose, insist that your final contract includes the project timeline as an attachment, with milestone dates and a defined process for approving changes.
Keeping the Project on Track After the First Delay
Every remodel hits turbulence. The mark of a well-managed project is not the absence of delays but the speed of recovery. When something slips, gather the affected trades, identify the next available window for each, and re-sequence rather than simply pushing everything back by the same number of days. Sometimes moving the painter ahead of the tile setter, or splitting the punch list into two passes, recovers a full week.
Finally, document completion as carefully as you documented the plan. Hold final payment until the punch list is finished and the final inspection passes. A timeline that ends with a signed-off inspection and a written warranty is a timeline that protected your money, your home, and your sanity from the first hammer swing to the last.
Learn more about General Contracting for guides, costs, and what to expect.
Compare General Contracting Pros Near You
Enter your ZIP code to compare top-rated local professionals and request free quotes.