
Home Addition Construction Process Timeline: A 2026 Guide
Master the home addition construction process timeline with our phase-by-phase guide to avoid delays and budget overruns.
By Alexia Mabel
Learn more about Home Remodeling for guides, costs, and what to expect.
Compare Home Remodeling Pros Near You

Enter your ZIP code to compare top-rated local professionals and request free quotes.
Planning a home addition is one of the most significant investments a homeowner can make, both financially and emotionally. Whether you are adding a primary suite, expanding your kitchen, or creating a dedicated home office, the journey from initial concept to final walkthrough involves a complex sequence of events. Understanding the home addition construction process timeline is critical for setting realistic expectations, managing your budget, and maintaining your sanity while your home becomes a construction zone. Without a clear roadmap, it is easy to feel overwhelmed by permits, inspections, and the sudden appearance of heavy machinery in your backyard. By breaking down the project into distinct phases, you can anticipate what comes next and make informed decisions that keep your renovation on track.
Phase 1: Planning, Budgeting, and Design (Months 1-3)
The timeline for a home addition does not start when the first shovel hits the dirt; it begins with a significant period of planning and research. This pre-construction phase is arguably the most important, as decisions made here dictate the success of the entire project. During this time, you will need to define the scope of your project, establish a realistic budget, and begin the search for a qualified professional. Many homeowners start by using a platform like USremodel to connect with local experts and gather initial estimates, which helps in setting a financial baseline before the design is finalized.
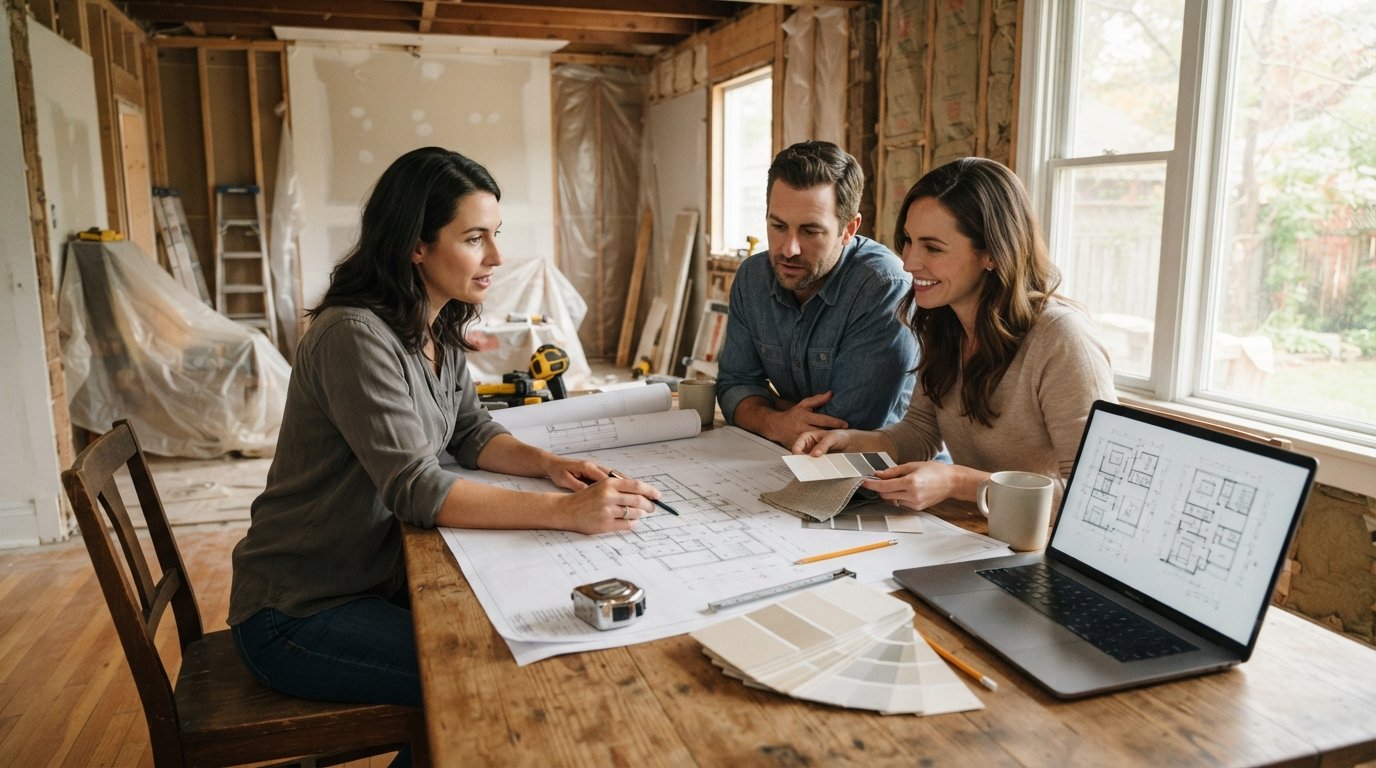
Once you have a rough budget, you must translate your vision into tangible plans. Hiring an architect or a structural engineer is usually required, especially if you are adding square footage or altering the structural integrity of the home. This period involves multiple iterations of drawings and discussions about materials, layouts, and functionality. It is also the time to consider the return on investment for home additions, ensuring that your planned upgrades will add value to your property rather than over-improving it for the neighborhood.
Key tasks during this phase include:
- Defining the purpose and scope of the addition (e.g., bedroom, bathroom, extra living space).
- Researching local zoning laws and homeowner association (HOA) restrictions.
- Interviewing and hiring an architect or designer to create construction documents.
- Setting a contingency fund of at least 15-20 percent of the total project cost.
By the end of this phase, you should have a finalized design, a detailed set of blueprints, and a clear understanding of the materials required. This preparation sets the stage for the permitting process and helps prevent costly delays later on.
Phase 2: Permits and Hiring the Contractor (Months 3-4)
With plans in hand, the next step is securing the necessary permits from your local municipality. This process can vary wildly depending on your location; some jurisdictions process permits in a few weeks, while others may take several months. The home addition construction process timeline is often dictated by these bureaucratic hurdles. Your contractor usually handles this step, but it is essential to ensure that no work begins until the permits are approved and posted visibly on the site. Starting work without permits can result in hefty fines, forced demolition, and complications when you try to sell your home in the future.
Simultaneously, you will need to finalize your choice of a general contractor. This is the person or company responsible for managing the day-to-day operations, hiring subcontractors, and ensuring the project stays on schedule and within budget. When selecting a contractor, look for a valid license, proof of insurance, and a portfolio of similar projects. It is wise to get at least three bids to compare pricing and scope. If you are looking for a reliable network to find vetted professionals, resources like 180Remodel can help streamline the search for contractors who specialize in additions and major renovations.
Once the contractor is hired and the permits are approved, you will sign a contract that outlines the payment schedule, the timeline, and the scope of work. This marks the transition from planning to physical execution.
Phase 3: Site Preparation and Foundation (Months 4-5)
The construction phase begins with site preparation. This involves clearing the area where the addition will be built, protecting existing landscaping, and setting up safety barriers to keep children and pets away from the work zone. If the addition requires excavation for a foundation, heavy machinery will move in to dig footings and trenches. This stage is noisy and messy, but it is a necessary precursor to the structural work.
Foundation work is critical and must be done correctly to support the new structure. Depending on the design, this could be a slab, crawl space, or basement foundation. The foundation crew will pour concrete and allow it to cure, which can take several days to weeks depending on the weather. Inspectors will visit the site to approve the foundation before framing begins. If you are adding a second story, the process is slightly different, as the existing roof and structure must be reinforced to bear the new load.
During this phase, you may notice a lull in visible activity while concrete cures or inspections occur. It is important to remain patient, as rushing this stage can lead to structural issues down the line. Once the foundation is approved, the project moves quickly into the framing stage.
Phase 4: Framing, Roofing, and Exterior Work (Months 5-7)
Framing is the skeleton of your addition. Carpenters will erect the walls, floors, and roof structure, giving the addition its recognizable shape. This is an exciting time because you can finally see the volume of the new space. Once the frame is up, the roofers will install the sheathing and roofing materials to make the structure watertight. Windows and exterior doors are also installed during this phase, closing up the house to the elements.
Next comes the installation of exterior finishes, such as siding, brick, or stucco. This is a crucial step for curb appeal and ensuring the addition blends seamlessly with the existing home. You will also need to coordinate with electricians and plumbers to run the rough wiring and piping through the open walls before the insulation and drywall go up. This sequence is vital; once the walls are closed, making changes becomes exponentially more expensive.
At this point, the exterior of the addition should look complete from the outside. However, the interior is still a construction zone. The focus now shifts to the systems that make the space livable: HVAC, electrical, and plumbing.
Phase 5: Rough-Ins and Insulation (Months 7-8)
The rough-in phase is when the mechanical, electrical, and plumbing (MEP) systems are installed. Electricians will run wires for outlets, switches, and light fixtures. Plumbers will install supply lines and drain pipes for sinks, toilets, and showers. HVAC technicians will extend ductwork or install a new system to heat and cool the space. These systems must pass inspection before the walls are insulated and covered.
After the rough-ins are approved, insulation is installed. This is a critical step for energy efficiency and comfort. Whether you choose fiberglass batts, spray foam, or rigid foam boards, proper insulation will keep your addition warm in winter and cool in summer. Following insulation, the drywall is hung, taped, and mudded. This transforms the space from a raw frame to something that resembles a finished room.
Once the drywall is sanded and primed, the project enters the finishing phase. This is where the aesthetic details come to life.
Phase 6: Interior Finishes and Fixtures (Months 8-10)
The finish phase is the most exciting for homeowners, as it involves selecting and installing the visible elements of the room. This includes painting, flooring, cabinetry, countertops, and light fixtures. If your addition includes a bathroom, this is when the toilet, sink, and shower are installed. If it is a kitchen, cabinets and appliances are put in place. Trim work, such as baseboards and crown molding, is also installed to give the room a polished look.
This phase requires a lot of decision-making and coordination. You will need to have your materials selected and delivered on time to avoid delays. For example, if the tile for the bathroom floor has not arrived, the plumber cannot install the toilet, which holds up the painter. Maintaining a schedule and communicating frequently with your contractor is essential here.
Once the finishes are complete, a final inspection is conducted to ensure the work meets building codes. After that, the construction crew cleans the site and removes any debris. You will then do a final walkthrough with your contractor to identify any punch-list items that need to be addressed before the project is officially closed out.
Factors That Can Extend Your Timeline
While the timeline outlined above provides a general framework, several factors can impact the duration of your home addition project. Weather is a major variable; heavy rain, snow, or extreme heat can delay foundation work, framing, and exterior finishes. Material shortages or backorders can also stall progress, particularly for custom items like windows or cabinetry. Additionally, changes made by the homeowner during construction (change orders) can add weeks to the schedule and increase costs.
Permitting delays are another common culprit. If your local building department is backed up, you might wait weeks or months for approvals. Finally, unforeseen issues discovered during demolition or excavation, such as buried utility lines, unstable soil, or hidden water damage, can require immediate attention and additional time to resolve. Having a contingency plan and a flexible mindset will help you navigate these inevitable bumps in the road.
Navigating the home addition construction process timeline requires patience, preparation, and a reliable team of professionals. By understanding each phase, from design to final inspection, you can better manage your expectations and ensure your project progresses smoothly. Remember that the cheapest bid is not always the best choice; prioritizing quality and communication will pay off in the long run, resulting in a beautiful new space that enhances your home and your lifestyle.
Learn more about Home Remodeling for guides, costs, and what to expect.
Compare Home Remodeling Pros Near You
Enter your ZIP code to compare top-rated local professionals and request free quotes.