
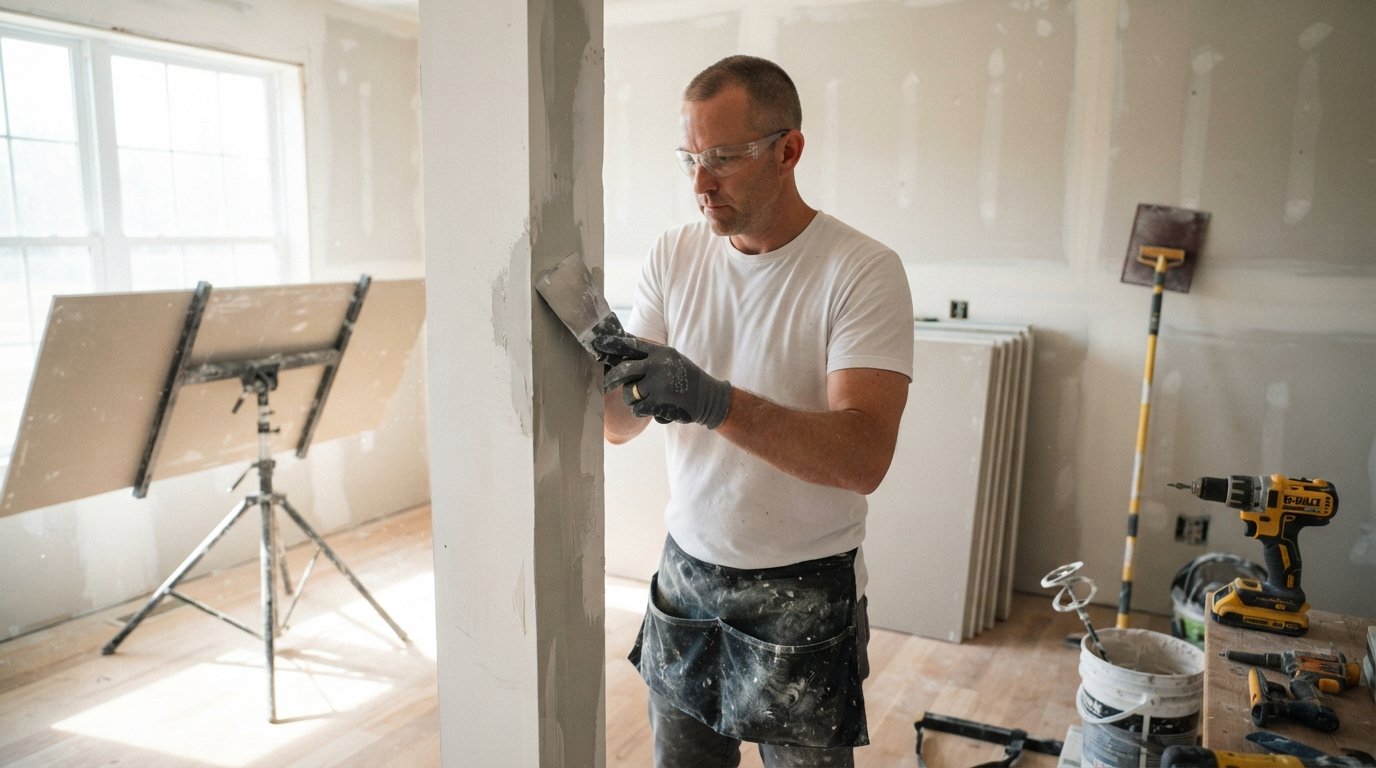
Drywall Installation and Finishing: A Professional Guide
Master drywall installation and finishing with this professional guide covering tools, step-by-step hanging, taping, and how to hire the right contractor.
By Alexia Mabel
Learn more about Drywall Installation and Hanging for guides, costs, and what to expect.
Compare Drywall Installation and Hanging Pros Near You

Enter your ZIP code to compare top-rated local professionals and request free quotes.
Drywall transforms a framed skeleton into livable space, and the difference between a mediocre and a flawless finish comes down to technique. Whether you are renovating a single room or managing a full home addition, understanding the craft behind drywall installation and finishing helps you evaluate contractor bids, spot shortcuts, and set realistic expectations for timelines and budgets. This professional guide walks through every stage, from hanging the first panel to applying the final coat of paint, so you can approach your project with confidence.
Why Drywall Quality Matters More Than Most Homeowners Realize
Drywall is the single largest visible surface in most homes. It covers walls, ceilings, and sometimes architectural features like soffits and arches. Because it is painted rather than hidden, every seam, dent, or poorly feathered joint remains visible under certain lighting conditions. A professional finish reflects light evenly, while a rushed job creates shadows, cracks, and texture inconsistencies that undermine even the most expensive paint and trim.
Beyond aesthetics, drywall contributes to structural integrity, fire resistance, sound control, and insulation performance. Moisture-resistant boards protect bathrooms and kitchens, while fire-rated assemblies slow the spread of flames in garages and mechanical rooms. Choosing the right board type and installing it correctly is not just cosmetic; it is a safety and durability decision.
Homeowners often underestimate the labor involved. A standard 12 by 16 foot room requires roughly 600 square feet of drywall, plus joint compound, tape, corner bead, screws, and multiple sanding passes. Getting this wrong leads to callbacks, repainting, and sometimes full removal. Working with an experienced professional through a platform like 180Remodel can connect you with contractors who handle these details correctly the first time.
Essential Tools and Materials for Professional Results
Professional drywall work relies on a specific set of tools that separate clean, efficient installations from messy, slow ones. You do not need every specialty item as a homeowner, but knowing what professionals use helps you understand bids and timelines.
Here are the core tools and materials that appear on nearly every job site:
- Drywall panels: Available in 1/4, 3/8, 1/2, and 5/8 inch thicknesses, with moisture-resistant, fire-rated, and soundproof variants.
- Joint compound: All-purpose, lightweight, and setting-type compounds serve different stages of taping and finishing.
- Paper or mesh tape: Paper tape offers superior strength for butt joints, while mesh tape works well for repairs and quick patches.
- Drywall screws and adhesive: Screws secure panels to studs, and construction adhesive reduces squeaks and improves hold on ceilings.
- Taping knives and mud pans: A six-inch knife for bedding tape, a ten-inch for filling, and a twelve-inch for final feathering.
- Corner bead and sanding tools: Metal or vinyl bead protects outside corners, while pole sanders and sponge sanders smooth joints.
In addition to tools, material selection matters. Half-inch drywall is standard for interior walls, but ceilings often call for 5/8 inch to resist sagging. Bathrooms and basements require moisture-resistant boards, and garages adjacent to living space should use fire-rated panels. A professional contractor will specify these materials in the bid, and any quote that omits them deserves scrutiny.
Proper sequencing also reduces waste. Panels should be cut to minimize seams, and joints should be staggered so they do not align across a wall or ceiling. This step alone prevents the straight-line cracks that appear months after a poor installation.
Step-By-Step Drywall Installation Process
Installation follows a logical sequence that professionals repeat on every project. Rushing any step creates problems that finishing cannot hide.
- Prepare the framing: Verify studs are straight, spaced 16 inches on center, and free of protruding nails or obstructions. Add blocking where heavy fixtures will hang.
- Measure and cut panels: Measure twice, score the face paper with a utility knife, snap the core, and cut the back paper. Cutouts for outlets and switches should be measured from a reference edge.
- Hang panels: Start with ceilings, then upper walls, then lower walls. Butt panels tightly without forcing them, and leave a small gap at the floor to prevent moisture wicking.
- Fasten securely: Drive screws every 12 inches on ceilings and every 16 inches on walls, setting heads just below the surface without tearing the paper.
- Reinforce corners and openings: Install corner bead on outside corners and protect door and window openings with properly fitted panels.
After hanging, inspect every seam and fastener. Recessed screw heads and tight joints create the foundation for a smooth finish. Any gaps wider than 1/8 inch should be filled with setting-type compound before taping. This inspection phase is where professional crews separate themselves from casual installers, because fixing issues now costs minutes, while fixing them after finishing costs hours.
Finishing: Taping, Mudding, and Sanding to a Level 5 Finish
Finishing is the most skill-intensive part of the trade. The goal is to create a monolithic surface where joints disappear entirely. Industry standards define six finish levels, from Level 0 (no finishing) to Level 5 (a skim coat over the entire surface for critical lighting conditions). Most homes receive a Level 4 finish, which is suitable for flat paint under normal lighting.
The finishing process proceeds in three main coats. The first coat, or tape coat, embeds paper tape into joint compound and fills the tapered edges of panels. The second coat, or fill coat, builds up the joint with a wider knife, feathering the compound beyond the tape. The third coat, or finish coat, uses a twelve-inch knife to create a seamless transition between the joint and the panel surface.
Between coats, professionals address imperfections. Inside corners receive tape folded along the crease. Outside corners are reinforced with bead and coated on both sides. Screw heads get two passes of compound. After the final coat dries, sanding removes ridges and blends edges. Over-sanding can damage the paper face, so professionals sand lightly with 120 to 220 grit and check their work under raking light.
For high-end projects, a Level 5 finish adds a skim coat of compound across the entire wall or ceiling. This step eliminates the slight texture difference between paper and joint compound, which becomes visible under gloss paint or strong sidelighting. If your project includes dramatic lighting or semi-gloss finishes, specify Level 5 in your contract.
Common Mistakes and How Professionals Avoid Them
Even experienced DIYers make predictable errors that compromise the final result. Knowing these pitfalls helps you evaluate contractor workmanship and avoid costly rework.
- Using too much compound: Thick coats crack and shrink. Professionals apply thin, controlled layers.
- Skipping the tape coat: Tape must be embedded, not just covered. Loose tape peels and bubbles.
- Poor screw placement: Overdriven screws break the paper and pop later. Underdriven screws create bumps.
- Ignoring lighting: Finishing without raking light hides defects until after painting.
- Wrong compound for the stage: Setting-type compound for the first coat and lightweight for finishing reduces shrinkage and sanding time.
Professionals also manage drying time carefully. Humidity, temperature, and compound thickness all affect cure rates. Forcing the next coat before the previous one dries traps moisture and causes cracks. In humid climates, crews use dehumidifiers or setting-type compounds that cure chemically rather than by evaporation.
Another common oversight is failing to protect adjacent surfaces. Mud splatter on floors and trim creates extra cleanup and potential damage. Professional crews mask floors, cover fixtures, and clean as they go. These habits add little cost but preserve the rest of your home.
When to Hire a Professional Drywall Contractor
Small patches and single-panel repairs are reasonable DIY projects. Full-room installations, ceilings, and Level 5 finishes are not. The physical demands, tool investment, and skill required for a flawless finish make professional contractors the better choice for most homeowners.
Hiring a professional also provides access to proper insurance, licensing, and warranty coverage. Drywall failures often appear months after installation, and a reputable contractor will stand behind the work. When evaluating bids, ask about finish level, compound types, screw spacing, and cleanup. A detailed bid signals a professional who understands the trade.
If you are planning a larger renovation that includes drywall, consider bundling it with related services such as painting, insulation, or flooring. Platforms like USremodel simplify this by connecting you with multiple contractors who can quote the entire scope. This approach often reduces total cost and ensures trades coordinate properly, avoiding gaps between drywall finishing and paint.
Cost Factors and Budgeting for Drywall Projects
Drywall costs vary by region, project size, finish level, and accessibility. As a general range, installation and finishing for a standard room runs between $1.50 and $3.50 per square foot, with Level 5 finishes and ceiling work pushing toward the higher end. Repairs and small patches are often priced by the job rather than square footage.
Several factors influence the final price:
- Square footage and ceiling height: Taller walls require scaffolding and more material.
- Board type: Moisture-resistant, fire-rated, and soundproof boards cost more than standard panels.
- Finish level: Level 5 adds labor and material for skim coating.
- Access and demolition: Removing old drywall, moving furniture, and working in tight spaces adds labor.
- Regional labor rates: Urban areas with high demand command higher prices.
To budget accurately, request itemized quotes that separate materials, labor, finishing, and cleanup. Avoid lump-sum bids that obscure these details. A professional contractor will also specify whether the price includes priming, which is essential before painting. Skipping primer leads to flashing and uneven sheen, requiring repainting.
For homeowners managing multiple projects, obtaining quotes through a trusted platform ensures competitive pricing and vetted contractors. This step alone can save hundreds of dollars and weeks of frustration.
Final Thoughts on Mastering Drywall Installation and Finishing
Drywall installation and finishing is a craft that rewards patience, precision, and proper materials. From selecting the right board thickness to applying the final skim coat, each stage builds on the last. Homeowners who understand the process can communicate clearly with contractors, spot potential problems early, and ensure their renovation delivers the smooth, durable walls they expect. Whether you tackle a small patch yourself or hire a professional for a full installation, investing in quality drywall work pays off in lasting beauty and structural performance.
Learn more about Drywall Installation and Hanging for guides, costs, and what to expect.
Compare Drywall Installation and Hanging Pros Near You
Enter your ZIP code to compare top-rated local professionals and request free quotes.